In Hydromagic Dredging, it is possible to connect an echo sounder, and display the depth below the dredger. You can even use the echo sounder to update a layer of the current matrix with the current depth for the matrix cell. This manual page explains how to load the plugin for an echo sounder, display the depth in the data view and how to configure the dredging software to be able to store depth readings.
Please note that the dredging software can not be used to perform hydrographic surveys. The resolution of the sounding locations is limited by the cell size of the matrix and no post processing functions are offered. You will not be able to perform sound velocity, motion and latency corrections on the soundings. To perform a high accuracy post-dredging survey, the Hydromagic Survey software should be used.
In Hydromagic, a plugin is a piece of software between the actual hardware (RTK receiver, echo sounder, motion sensor etc) and the Hydromagic Survey or Hydromagic Dredging software. To be able to read data from an echo sounder, an echo sounder plugin has to be loaded and configured first. To load a plugin, select the "Preferences..." option from the "Tools" menu and select the "Devices" tab:
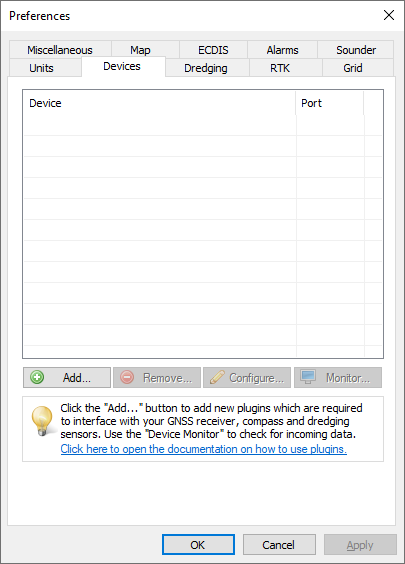
Open the "Devices" tab in the "Preferences" dialog to load a plugin.
When a plugin for the echo sounder has not been loaded yet, click the "Add..." button to select a plugin to load. After selecting the plugin in the list, you have to configure the communication parameters for the serial port or Ethernet connection to start reading data. For more detailed information on loading and configuring plugins, please check the "General information on using plugins" page.
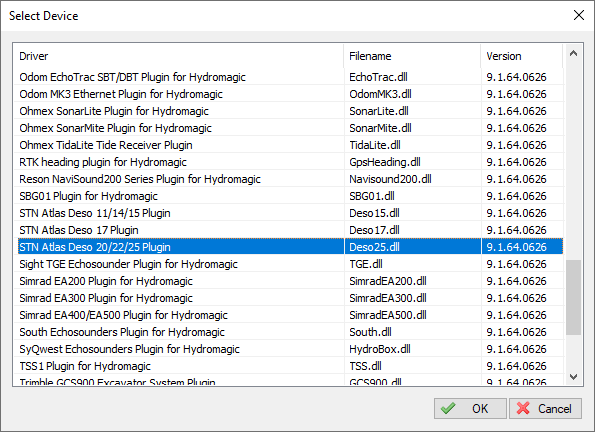
Select a plugin for your echo sounder when not already done so.
When done loading and configuring the echo sounder plugin, the green check before the plugin description in the "Devices" tab indicates that data is coming in and recognized as depth information. Now that data is coming in the depth(s) should be displayed in the "Data View" display. When the depth is not displayed in the data view, right click on the window and check the "Depth (Lo)" or "Depth (Hi)" items to enable depth display.
In case data is coming in, and no depth is displayed, make sure to check your vessel settings. The vessel using the echo sounder should have the echo sounder plugin selected in its data source list.
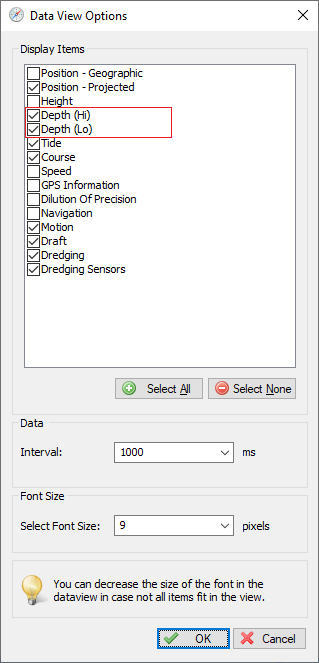
Check the "Depth" options to show echo sounder depth readings.
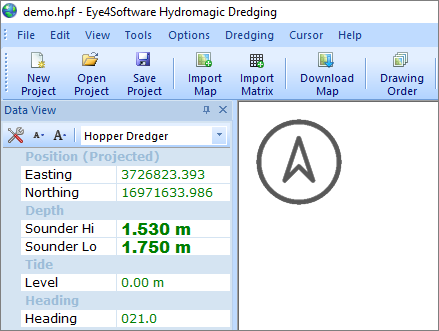
Dual frequency depth readings in the "Hydromagic Data View".
Another use of the echo sounder installed on the dredge, is to update matrix cells with the last echo sounder reading. Please note that the last value is stored, since the echosounder probably should detect that the depth of a cell has increased after dredging. To configure the echo sounder to perform matrix cell updates, select the "Preferences..." option from the "Options" menu and select the "Sounder" tab.

Configure matrix updates in the "Sounder" tab.
First of all, you have to enable this option by checking the "Store echo sounder readings into the selected matrix" check box. This enables the other settings in the dialog. By default the "Post Dredging" layer (layer #3) will be updated. You can however select layer 1 and 2 as well. Please note that layer 2 is also updated by the dredge head. To show the matrix updates for the selected layer, you can switch between the different matrix views by clicking the appropriate button in the tool bar:
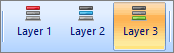
Select the correct matrix layer to show the matrix updates.
With the "Select Data" switch, you can selected which echo sounder readings are recorded. At this moment, this switch can be used to toggle between high and low frequency echo sounder depths. When using a single frequency sounder, set this to "Depth - Hi Frequency". With a dual frequency sounder you might want to select the "Depth - Lo Frequency" option to record the depth of the bottom ignoring the mud on top of it.
If draft hasn't been set in the echo sounder, check the "Apply echo sounder offset" check box and enter the absolute value of the distance between the bottom of the transducer and the water surface. This value will automatically be added to the depth reported by the echo sounder plugin.
When your echo sounder transducer is not directly below your GNSS antenna, make sure you configure the horizontal offset. This can be done in the "Vessel Designer". When the matrix is being updated, double check that the cell updated is actually at the echo sounder's position.
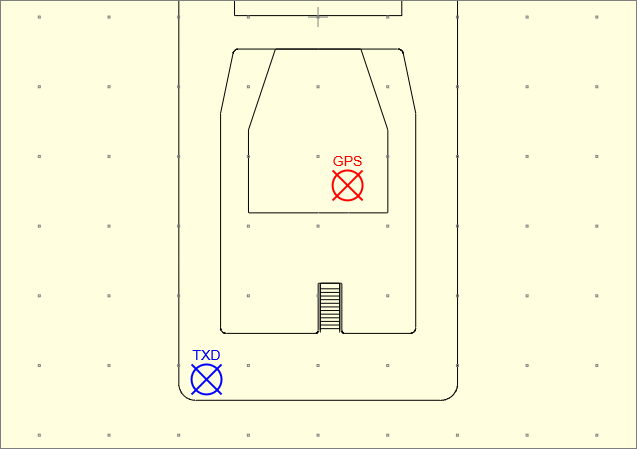
It is important to make sure the echo sounder transducer location
has been set in the "Vessel Designer".
Click the "Record" button to start recording data, this works the same as recording dredge head position data. Both echo sounder and dredge head data will be stored into the matrix simultaneously. With the matrix visible and the correct layer selected, the depth readings should be visible at the echo sounder location:
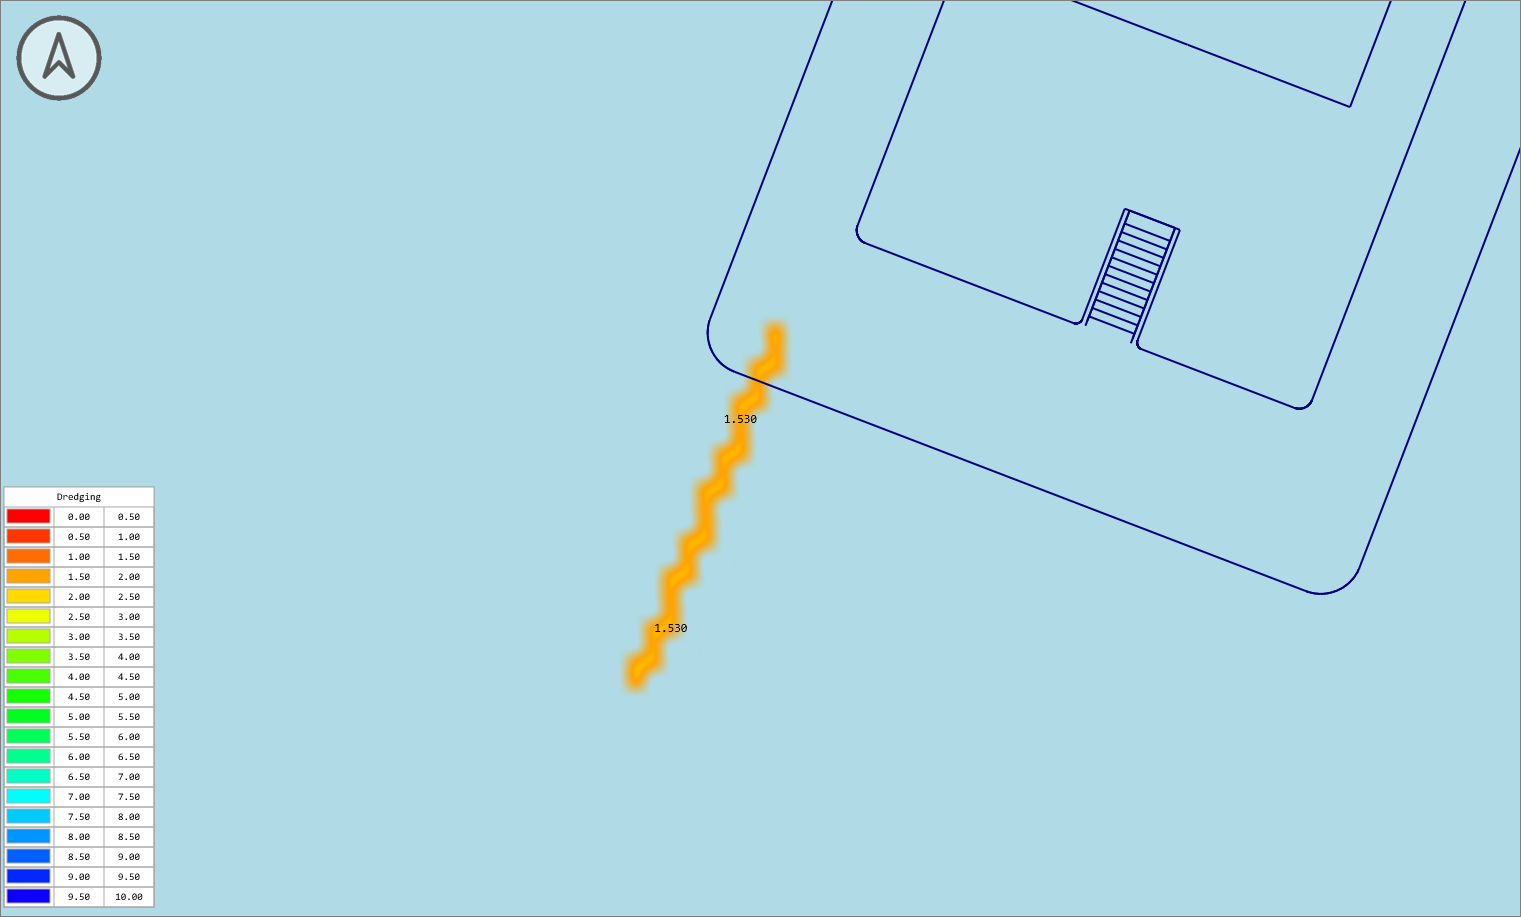
Example of recorded echo sounder data.