eXtended Triton Format (XTF) is a file format developed by Triton Imaging, Inc for recording hydrographic survey data. XTF is the most commonly used format for this type of information in the hydrographic survey industry.
XTF supports sources including side scan sonar, shallow seismic, single beam and multibeam bathymetry, as well as associated position, time and altitude information. An XTF file consists out multiple data structures placed sequentially in the file. This way the file format can easily be extended with new functionality.
At this moment Hydromagic can read and convert the following data structures from an XTF file:
You can now use the raw data import wizard to use the data in Hydromagic Survey, or use the data in Hydromagic Dredging (after processing the raw data and generating a matrix file from the soundings). To import side scan sonar data from a XTF file, use the side scan sonar import wizard instead.
All file formats which Hydromagic is able to convert to proprietary raw data files, can be imported through the "Import Data Wizard". To start the wizard, right-click the "Raw Data" folder in the "Project Explorer" and select the 'Import Data Wizard...' option:
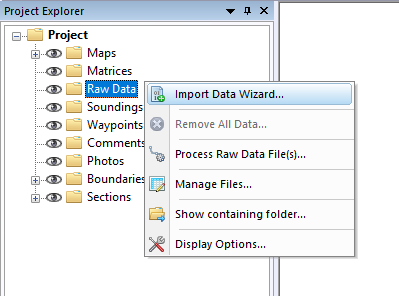
The "Import Data Wizard" can be launched from the "Project Explorer".
The first page of the wizard allows you to set the format of the file(s) we wish to import. Since this tutorial is about importing XTF data, we select the 'Triton eXtended Format Files (*.xtf)' option from the drop-down list.
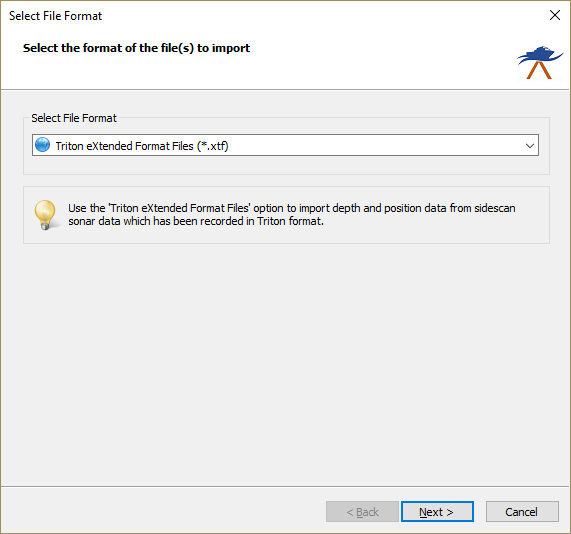
Select the "Triton eXtended Format Files" format from the dropdown list.
In the second page of the wizard you can select which files to import. Click the 'Browse...' button to select the folder on your computer where the files are stored. After changing the folder the file list is reloaded, and you can use the check boxes to select one or more file(s) to import at a time.
After changing the folder the file list is reloaded, and you can use the check boxes to select one or more file(s) to import.
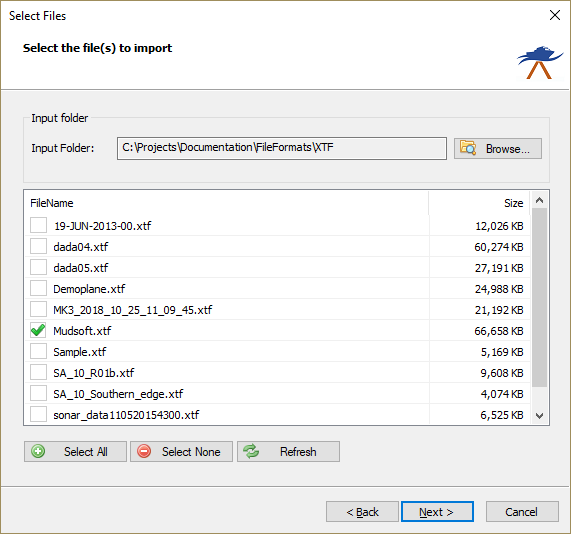
Select the file(s) to import. You can import multiple files at a time.
When the vessel's X and Y positions in the XTF file are projected coordinates rather then WGS84 geographic coordinates, this page allows you to set the coordinate reference system used in the XTF file.
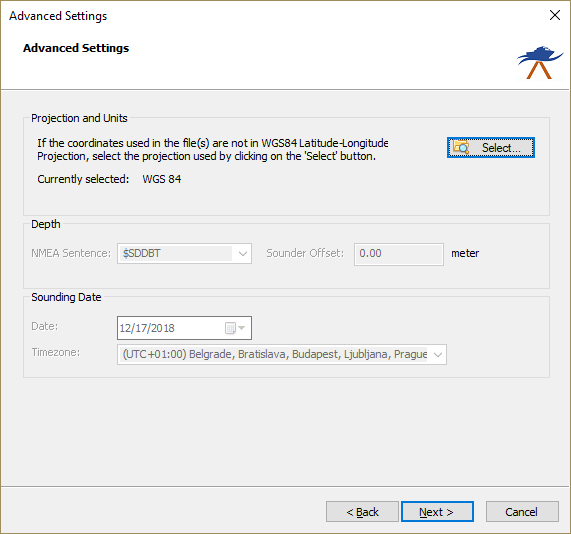
Click the "Select..." button to select a projection when the file is other than WGS84.
When the format has been selected and the file(s) have been selected, you can start the import process by clicking the 'Finish' button on the last page of the wizard.
The file currently processed is displayed in the status bar at the bottom of the screen and the wizard shows a message box stating 'File(s) successfully imported as raw data file(s)' as soon as the process has completed. Click 'OK' to close the dialog and the imported files will be centered in the map view (only when they contain position data). After importing raw data files, you can download a background map of the covered survey area using the built-in map downloading tool.

After clicking the "Finish" button, the import process will start.
When the import has completed, you can right-click the generated raw data files, and select "Analyze Data..." to inspect the imported values and timestamps. When the import did not complete successfully, you can refer to the "Processing" tab of the activity view for more details on the error shown.