A boundary is required when using volume calculations. It is also used to specify a clipping region when creating a matrix or depth contour map.
The easiest way to create a boundary is by drawing a polygon on the map, but it is also possible to enter the coordinates manually.
To start a new boundary, just click "Boundary Drawing Tool" button in the toolbar: (  ).
).
Secondly, use the mouse to select the corners of the area, by left-clicking the corner locations on the map.
When finished, click the right mouse button to store the boundary and return to the old cursor mode.
The newly created boundary should now appear in the "Project Explorer".
By default a new boundary is named "BOUNDARYXXXX" where "XXXX" is the number of the boundary.
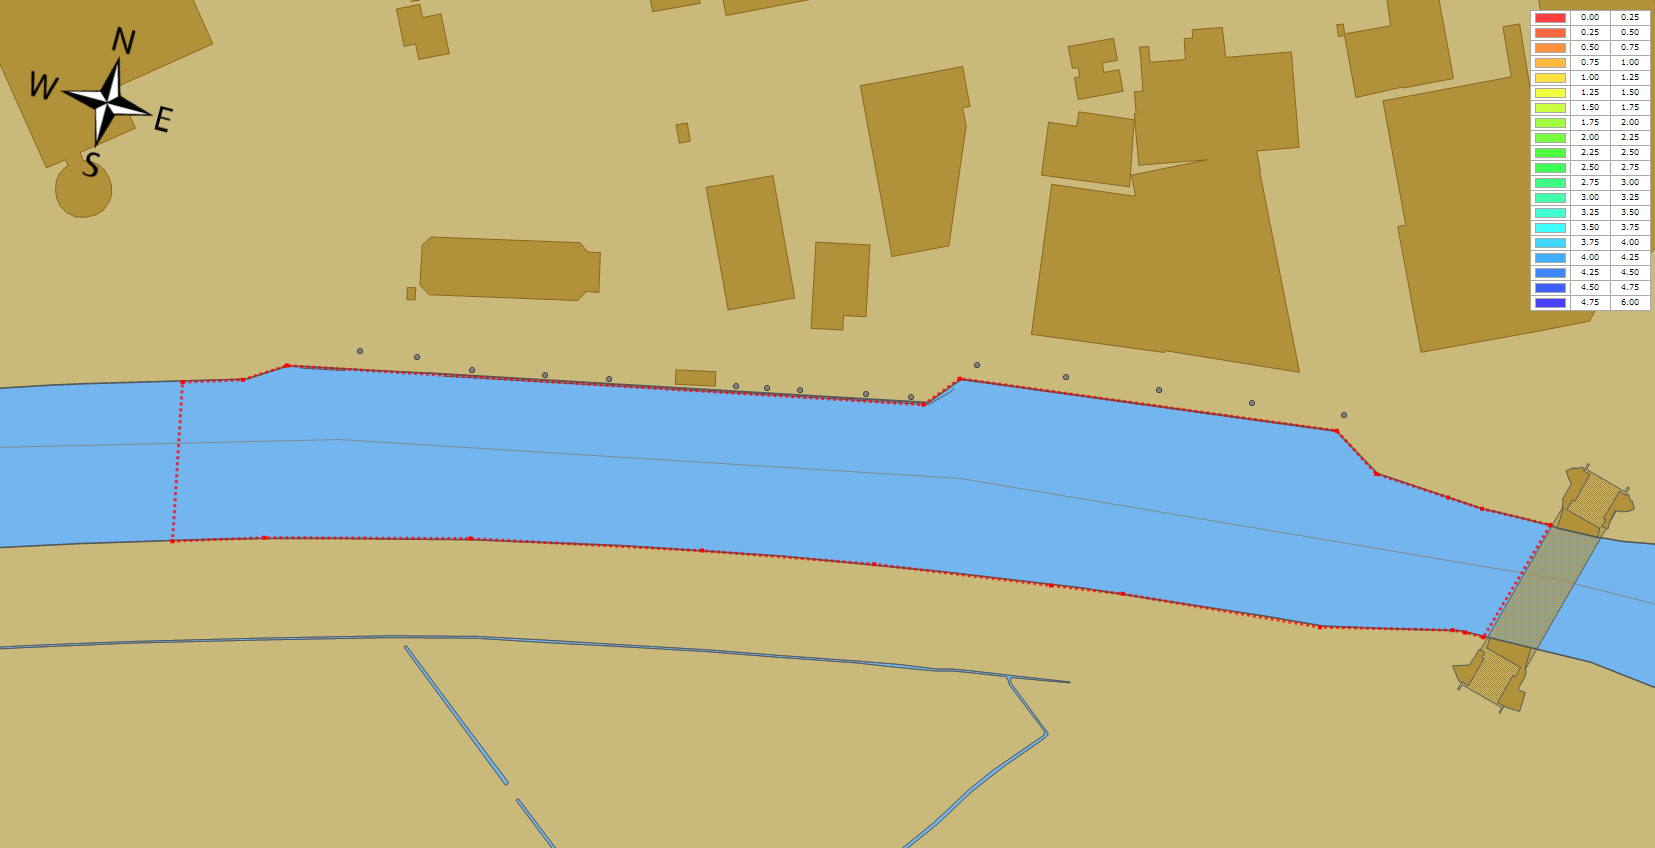
Boundaries are drawn as red, dotted lines. The boundary points are drawn as red rectangles.
To modify a created boundary, regardless whether it has been created by entering coordinates or by using the mouse, can be modified by dragging it's corner point around. First, you have to activate the boundary you want to alter. This can be done by right-clicking on the boundary name in the "Project Explorer", and selecting the "Set Active" option. It is only possible to drag the points around when the "Disable Drag and Drop" options is turned off (enabled by default). This can be done from the "Cursor" menu.
When your client has supplied a list of coordinates for the area that you need to survey, you can also create a boundary by manually entering these coordinates. To do so, right-click the "Boundaries" folder in the "Project Explorer" and select the "Add Boundary..." option. The following dialog will appear:
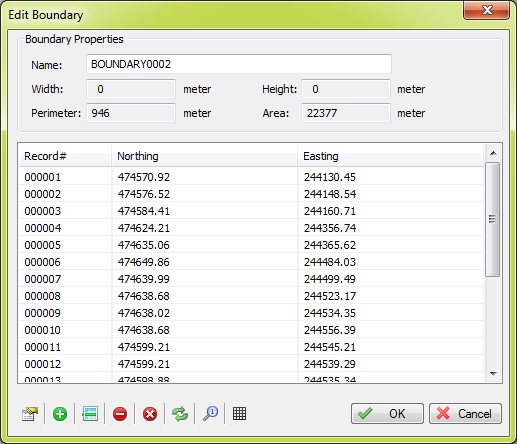
The table shows the coordinates of the corners of the boundary. The toolbar at the bottom of the dialog allows you to insert, delete or alter the coordinates.
This dialog can also be used to modify boundaries created by using the mouse, or to rename a previously created boundary:
| Button | Function |
|---|---|
 |
Edit the selected coordinate. |
 |
Add a new coordinate to the list. |
 |
Insert a new coordinate before the selected coordinate. |
 |
Deletes the selected coordinate(s). |
 |
Clears the list (delete all coordinates). |
 |
Reload the list. |
 |
Show selected coordinate on the map. |
 |
Toggle coordinates between WGS84 and local grid. |
A boundary can be removed by right-clicking on the boundary name in the "Project Explorer" followed by selecting the "Remove Boundary..." option.
After a confirmation, the boundary will be removed from the project.